Modern drivers expect their vehicles to stand the test of time. Today's average car or truck is nearly 11 years old, with many classic and vintage rides still going strong despite their age. However, as vehicles age, they sometimes require restoration projects, such as a fresh coat of paint. If you're planning to revamp an old truck bed and remove the existing paint and grime, you'll quickly realize that hand-sanding is both time-consuming and labor-intensive. Achieving full access to corners and crevices is also challenging with manual sanding methods. That’s where abrasive blasting comes into play. This technique effectively strips away old paint and stubborn dirt from your truck bed, leaving it smooth and ready for a new paint job. The guide below provides detailed instructions on the abrasive blasting process and how to proceed with painting afterward. Whether you're restoring a classic truck or simply refreshing your current one, these steps will help you achieve a professional-looking finish. Before you start painting your truck bed, it's essential to prepare the metal surface thoroughly. This often involves abrasive blasting to create a clean, smooth canvas for fresh paint. What exactly is abrasive blasting? In simple terms, it involves propelling fine particles at high speed onto the metal surface using compressed air. Common materials used include sand, steel shot, or plastic abrasives. Depending on the type of metal and the desired finish, various types of abrasives can be employed. At Finishing Systems, we specialize in preparing truck beds for repainting, regardless of the bed's size or shape. Over time, older metal truck beds accumulate layers of peeling paint, dust, and grime. These layers must be removed entirely before applying new paint to ensure proper adhesion and a flawless finish. Abrasive blasting is the most efficient way to accomplish this task. Our team uses robust abrasives that can quickly eliminate old paint and dirt from your truck bed. Some of the materials we utilize include: When preparing a truck bed for abrasive blasting, there are several key steps involved: Now that your truck bed is prepared, let's dive into the painting process. Here's a step-by-step guide: Begin by taking apart the truck bed if possible. Detachable panels can fit inside the blasting cabinet, but an intact bed will require a handheld blaster. Next, use abrasive blasting to eliminate old paint, dirt, and debris from the truck bed. Using pressurized air and a nozzle, the operator distributes the selected abrasive across the bed at high velocity. It's crucial to move systematically and avoid spending too much time on any single area to prevent warping or cracking. Our skilled technicians ensure thorough coverage for a smooth, clean finish. After blasting, there may be small remnants of abrasive left behind. Sweep or vacuum the bed to remove larger debris, followed by a quick rinse to eliminate any residue that could interfere with painting. In some cases, applying a primer or adhesion promoter is necessary to ensure the paint adheres properly to the metal. Check the paint manufacturer's recommendations for guidance. With the bed clean and ready, it's time to paint. Use masking tape to shield areas you don't want painted. Consider removing the tailgate for easier access if you haven't already. Work outdoors or in a well-ventilated area for safety. For the inside of the truck bed, start by brushing paint onto the bed rails and corners, then apply a single coat to the sides and flat surfaces using a brush roller. Allow about 20 minutes for drying before adding a second coat for full coverage. Additional coats can enhance thickness or appearance if desired. Once finished, remove the tape, reinstall the tailgate, and allow the paint to dry completely—usually around 24 hours. Finally, consider applying a paint protector to extend the life of your paint job. A protector guards against minor scratches, nicks, and UV damage, helping maintain your truck bed's appearance over time. Ready to refresh your truck bed? Contact Finishing Systems for top-notch preparation services using advanced blasting techniques. Our extensive selection of abrasives ensures efficient and safe restoration tailored to your truck's specific needs. Reach out to our experienced professionals to discuss pricing and tailor a solution for your unique situation. Don't wait—schedule your refinishing service today and bring new life to your truck bed! 17 Inches Automobile Magnesium Wheels 17 Inches Automobile Magnesium Wheels,Forged Wheels Audi,De Forged Wheel,17 Inch Rims Shamora Material Industry , https://www.shamorawheels.com
Revamping Your Truck Bed: A Step-by-Step Guide
Last Updated: February 14, 2022
Getting Your Truck Bed Ready for Repainting
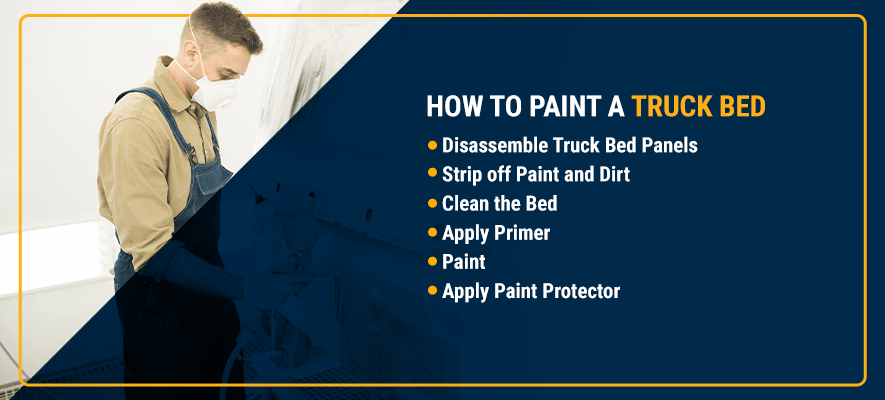
How to Paint a Truck Bed
1. Disassemble Truck Bed Panels
2. Remove Old Paint and Dirt
3. Clean the Bed
4. Apply Primer (if needed)
5. Paint the Bed
6. Protect the Paint Job
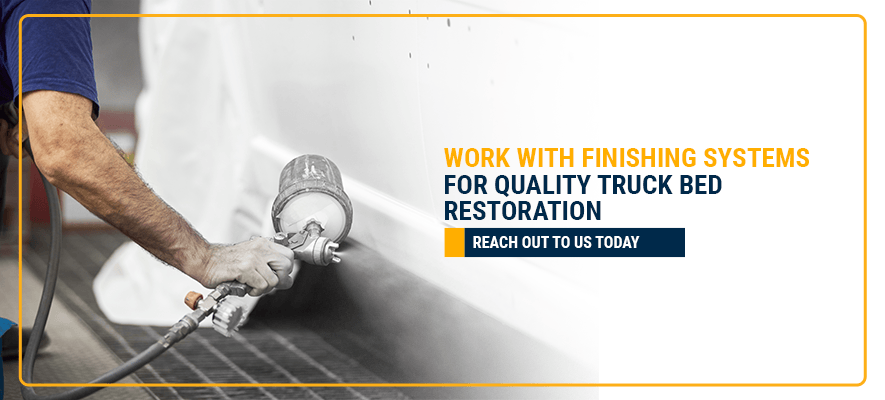
Partner with Finishing Systems for Expert Truck Bed Restoration
June 05, 2025